My classroom is the home away from home for my students and me, so I try to make it as welcoming, inviting, and full of inspiration as possible. A few years ago, I decided to change things up and try DIY bulletin board ideas to get my classroom ready for my newest group of students.
After a trip to Target and seeing all of the cute $1 borders and classroom decor’, I became inspired to make purposeful bulletin boards without ordering expensive letter sets that require me to punch out, sort, organize, and store. The letters never look as good with staple holes when they are re-used anyway!
Since I typically leave my three bulletin boards up for the entire year, I decided to use PowerPoint to create my letters. See the steps below and discover how easy it is to create your own bulletin board letters! If you are looking for more classroom wall ideas, check out this post about my ELA word wall.
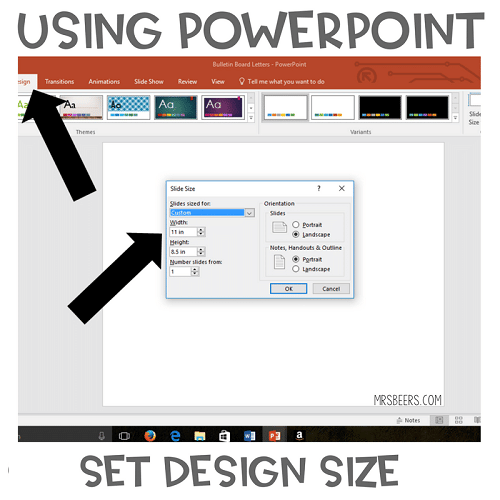
Step #1: SET DESIGN SIZE
- Open PowerPoint
- Click on DESIGN
- Set the width to 11 in.
- Set the height to 8.5 in.
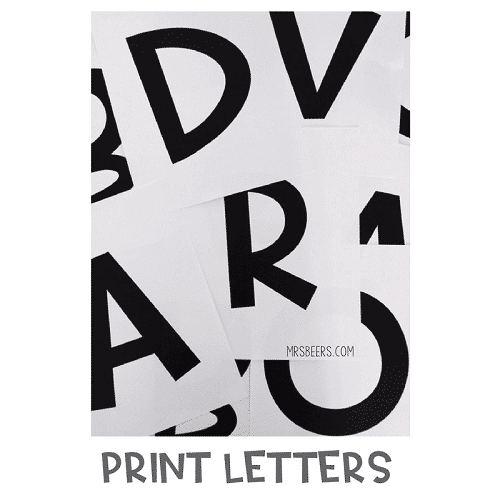
- You can download these printable PDF letters from the example above.
Step #2: PICK FONT & SIZE
- Determine the font you want to use. My current favorite is AG Fonts Sorry Not Sorry
- Size the font so that it takes up as much of the page as possible (my letters were size 605)
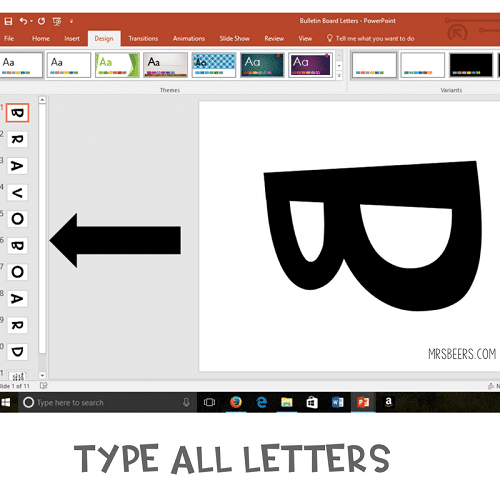
Step #3: TYPE YOUR LETTERS, ONE PER SLIDE
- Make a NEW SLIDE for each letter
- Type out all of the letters in your display
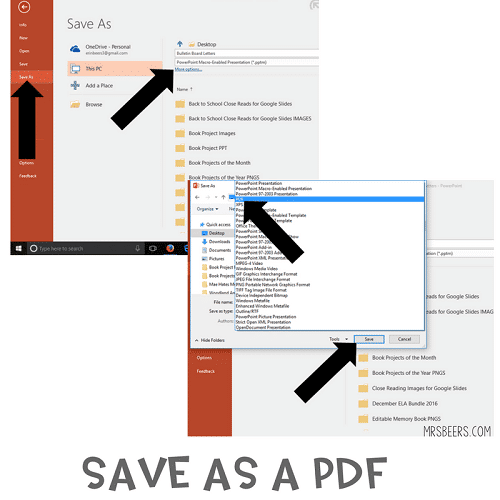
Step #4: SAVE FILE AS A PDF FOR EASY PRINTING
- I make my slideshow into a PDF because I send my bulletin board letters to Staples to be printed. The ink and paper provided by their copy service center are perfect.
- Click SAVE AS
- Click on MORE OPTIONS
- Click on PDF
- Click SAVE
- By creating a PDF document, your font will stay in place no matter where you print your letters.
Step #5: PRINT YOUR LETTERS OR SEND TO STAPLES
- Print your letters. Here is a PDF printing guide if you run into any issues.
- As mentioned above, I upload mine to the Staples site and pick them up when they are ready. Black-and-white copies are around 10 cents each. In addition, the quality is far better than my own printer. Since I am using the display for the year, it is well worth the money.
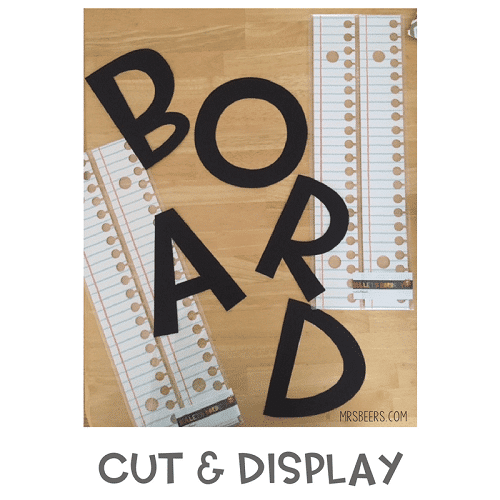
Step #6: CUT OUT LETTERS AND DISPLAY!
With my letters cut out, on-sale fabric for the background, and $1 borders from Target to add pizzazz, I am ready to get my bulletin boards up and ready for class!
Like this idea?
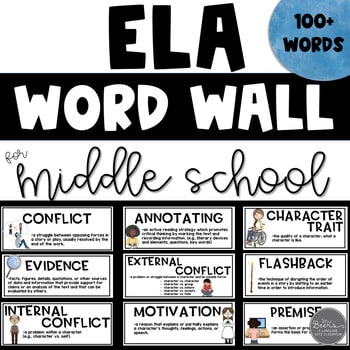
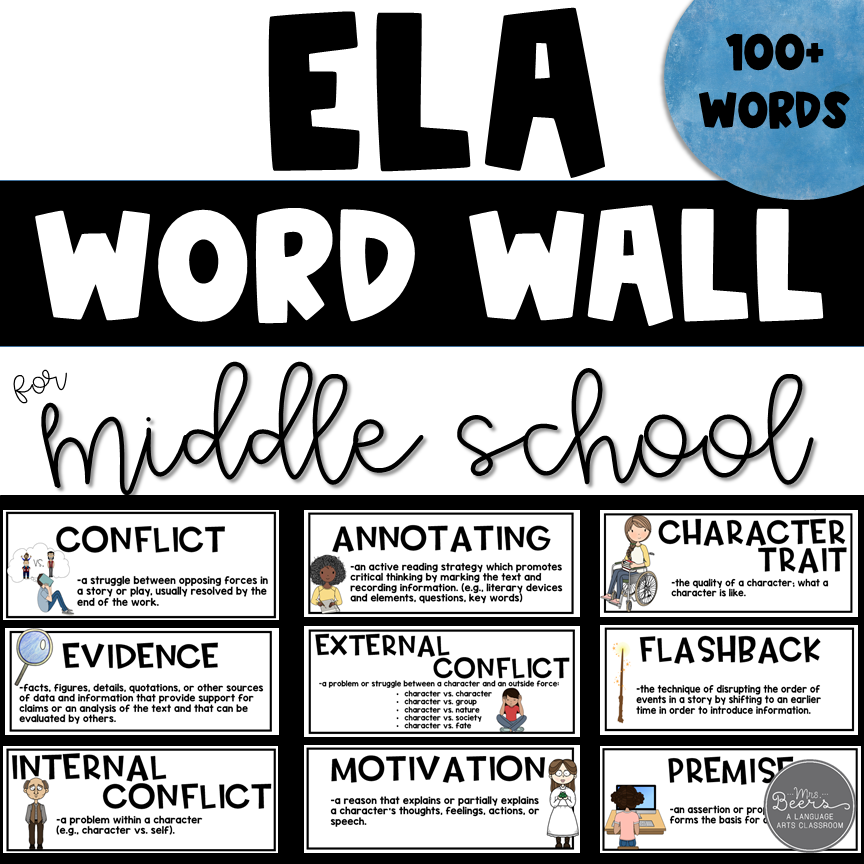
Then you’ll definitely want to check out my ELA Word Wall for Middle School on TPT!
